Every technician knows the right tool can save exponential time and money during a job. Facing a botched stud removal job, experienced technician Stephen Valoroso called up ProMAXX Tool and was able to bring the precision of a machine shop to his service bay, no engine removal required.
For even the most seasoned technicians, drilling into an engine head can be an intimidating task. Earlier this year, Stephen Valoroso had a job land in his service bay that many shops would turn away. During a broken exhaust manifold stud removal job on a 2005 Ford F-150, the previous technician had attempted drilling the stud out free-hand. All seemed fine for the owner of the vehicle until fluid began pouring out of the manifold. With a closer look, Stephen realized what had happened.
Not only was the stud drilled out off-center, but it was also at an angle and had managed to punch through the water jacket of the engine head.
To many technicians, the next step is to call a machine shop to get a quote, then express to the customer that they’re going to be without their truck for days or weeks and out a couple extra thousand dollars. Having experience in a variety of technical trades, Stephen knew that there had to be a more cost-effective solution that would allow his customer to be up and running at 100% more quickly. Here was his solution.
STEP 1. ASSESSING THE EXHAUST MANIFOLD STUD DAMAGE

Stephen knew that he needed to somehow patch the hole that had been drilled into the water jacket. He also knew there was no insert on the market that would work if he didn’t repair the off-center hole that had been drilled adjacent to the OEM manifold bolt hole. Stephen explained, “I’ve diagnosed a lot of botched jobs, but when I removed the stud from the manifold and fluid began pouring out, I knew this was going to take a creative solution or this engine was going to need to be machined.”
STEP 2. PREPPING THE WORK SURFACE

If there was any hope at getting a threaded insert to fit, Stephen had to over-drill and tap threads into the damaged area. This didn’t solve the hole in the engine head, however. He decided against welding on the aluminum head.
“I knew that I could weld and attempt to patch this hole, and it might have worked, but I didn’t want to give the customer a ‘I’m 90% sure it’s fixed’” Stephen explained. “I needed something more predictable and permanent. How do I return this engine head as close to OEM specification as possible?”
Stephen knew that trying to weld on a metal such as aluminum was complicated. It would require a very skilled welder who knows how to properly and accurately use Gas Metal Arc Welding (GMAW) equipment. This isn’t your average welding operation, as aluminum will oxidize without a gas shield.
STEP 3. PATCHING THE HOLE

With an oversized threaded hole now drilled on the engine head, Stephen was ready to bring the surface of the engine head (and hole in the engine) back to something he could work on. He coated a 12mm bolt with lock-tight and covered the end of the bolt in high temp silicone (commonly called Red RTV). After he twisted this into the new threads and he was confident he had a good seal, Stephen cut the head off the bolt and ground the surface flush.
STEP 4. RE-DRILLING AN ACCURATE STUD HOLE

After doing a bit of research, Stephen knew he didn’t want to be caught drilling off-center like the previous attempt had managed. He called ProMAXX Tool and spoke with the President & Founder, Jeff Del Rossa.
“Stephen was essentially bringing the science of a machine shop to a small space in the wheel well of an F-150” said Del Rossa. “I knew we had the perfect, most predictable tool for this job. We shipped him our
Rocky ProKit Plus (PMXR200PROP) and precision tooling overnight and stood by, ready to provide any technical support he’d need.”
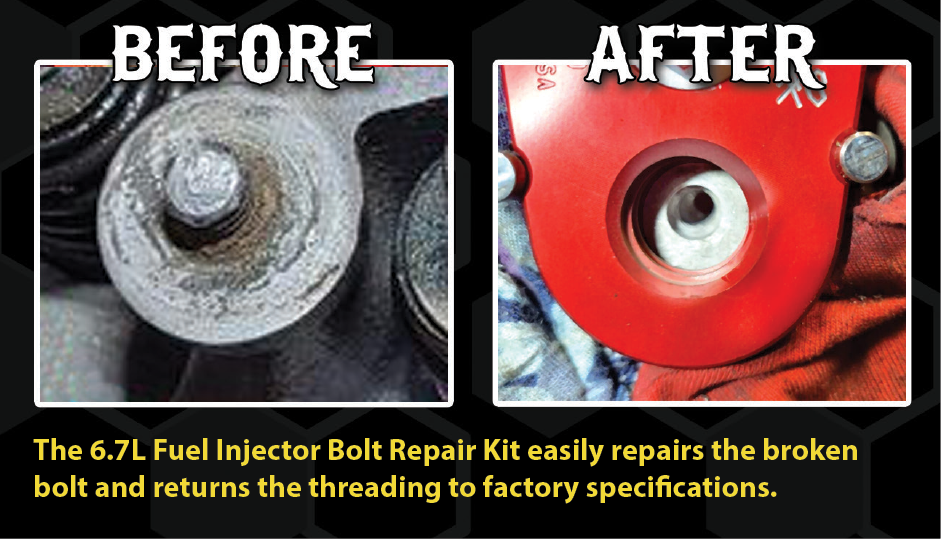
Once Stephen had the Rocky ProKit in his hands, the job was going to be complete in about 20 minutes. He bolted the guide plate of the kit into two open studs to the right of the now non-existent hole. Using a series of drill bushings and machine tooling bits, he was able to simply drill a pilot hole, step up to the next size bushing and bit, then finally tap the hole back to the 8mm OEM specifications. The job was complete with Stephen spending just two hours under the hood.

“The Rocky ProKit allowed me to avoid every part of this job that usually makes technicians nervous. The bushings allow you to drill without the need for a center punch, and the depth guide on the plate allowed me to drill without punching through the water jacket. It was a more predictable, much more productive job.”
Stephen credits the fix to this complicated repair to a combination of creative thinking and a few decades of experience.

“If I could tell young technicians entering the field anything, it would be to 1. Be confident and use your network. Call up other guys and get their opinion and leverage their experience. 2. Make sure you have the right tool for the job. It may be an investment up front, but being able to deliver a quality and timely repair to a customer (and possibly saving him money) is going to make sure he remembers you when his friend's truck runs into an issue.”
See More Exhaust Manifold Bolt Repair Kits


