BROKEN BOLTS ON A GM AND HOW TO MAKE ROOM TO REMOVE THEM
For technicians that service GM trucks, they know that when a customer brings in an LS engine there is always a chance that they’re going to be in for a fight.
“I hear a tick for a few minutes after I start it up.”
Nine times out of ten with these symptoms there is an exhaust leak on at least one side of the engine. This requires the technician to remove and replace the exhaust manifold(s) in order to eliminate the leak and ensure proper fuel monitoring. With this operation, any seasoned tech knows they probably have at least one broken bolt or stud waiting for them.
If the truck is older with similar service in the past, there is a good chance the last technician replaced the OEM studs with bolts. This is unfortunate for the next tech because removing bolts requires you to interact with the threads inside the engine head. Whereas with studs, they technically do not have to be removed entirely to replace the manifold.
Why Is Broken Bolt Removal Frustrating?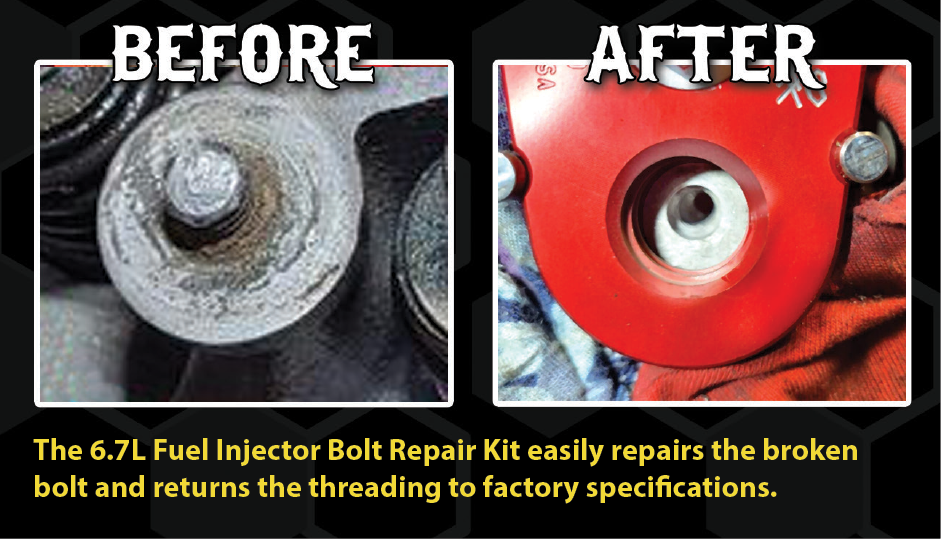
GM trucks are notorious for their lack of space. Bolts and studs usually break in the front or rear position beneath the firewall. Many technicians can find room in the engine compartment of other vehicles to either weld on a nut to a broken stud, or drill a hole and use a screw extractor. However, when the bolt or stud breaks off in the rear position of the engine compartment, space is an issue.
For a flat-rate mechanic, pulling the engine from the truck means they will probably lose money on the job. For dealership and hourly technicians, they know their customer may say – don’t bother, I’m not paying for that.
Have faith – at ProMAXX, we’ve seen this repair hundreds of times and have solutions that will allow you to remove broken bolts on GM LS engines, even those broken off on the rear driver side position.
HERE ARE A FEW WAYS TO MAKE ROOM WHEN REMOVING BROKEN BOLTS ON A GM LS EXHAUST MANIFOLD:- Remove the wheel and inner fender to create more room. Trying to operate on these broken bolts from the top is just going to result in frustration, mistakes and dropped sockets.
- Take the extra effort to remove the heat shield located around the bell housing, underneath the firewall. These few extra minutes will give you an extra inch or more of space near the rear of the engine head.
- In the case of the driver-side rear bolt, removing the transmission cross member will allow the engine to drop down from the firewall providing some precious room for making the repair. Though this will take a little investment in time, it’s still less time than is required to remove the engine from the truck entirely.
HOW TO EXTRACT THE BROKEN STUD IN A GM AFTER CREATING SPACE:
After following the steps above, you now have a little more space to attempt the repair. On the rear driver side, this is still not enough to fit a full-size drill or a straight shot with a welding head. You may be able to weld a nut onto the broken bolt, but if the bolt is recessed inside of the engine head, you are going to need an experienced welder and plenty of patience.
As with any complicated repair, the right tooling is going to make the difference between an hour-long job and multiple-day repair. Here is the tooling and operation that we recommend to remove broken bolts on the driver side of a GM LS engine:

- If the bolt is recessed below the surface of the head, do not weld. You seriously risk damaging the engine head as well as the top threads. Welding adds hardened material to an area that you are going to be heating to extreme temperatures and expanding. Your safest bet is to drill (or machine) the bolt remnant out.
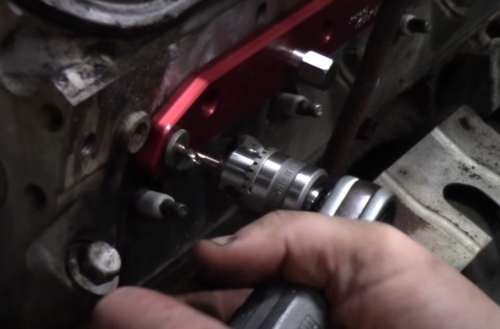
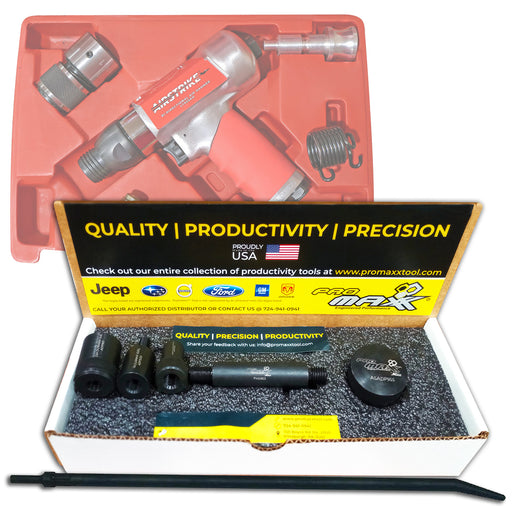
- As mentioned above, a full-size drill is not going to fit into this limited space. ProMAXX Tool offers a small drill chuck accessory that converts a narrow 1/4” drive air ratchet into a limited access drill.
- Drill a pilot hole and use the best screw extractor you can get. In our experience, this is an American-made, hardened steel ProTractor. The ProTractor is a multispline screw extractor with a turn-out nut. The advantage of this type of extractor are many, but most importantly the ability to turn the damaged remnant both clockwise and counterclockwise to remove the remnant is a bonus. Equally important is unlike tapered left-hand extractors, the ProTractor does not deform the remnant pinching it in the head complicating the repair. Lastly, poor quality and cheaper extractors can be found everywhere – but they are usually a four-point, off-shore steel design and are prone to breaking if the threads are the least bit compromised. A broken extractor will add hours to your repair and much more frustration.
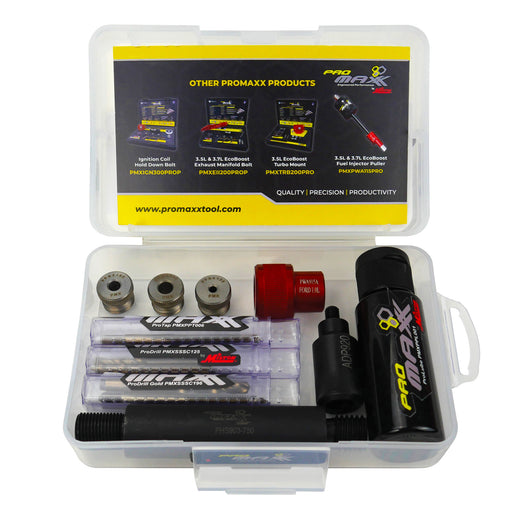
- If you are removing a broken stud, the threads tend to be softer, hence they can gall into the threads of the engine head. In this case, you should avoid trying to drill a pilot hole then inserting an extractor. Use a precision drill guide (jig) that allows you to machine (drill) accurately, stay on center and make the repair rather than complicating it. Moreover, using a kit with guide bushings that allow subsequent drilling offers the option to extract the stud or simply drill the stud completely out and chase the threads. (see the ProMAXX ProKit Plus)

All-In-One Repair Kits From ProMAXX
As with any complicated repair, the right tooling and the right support can turn a nightmare job into a simple repair – and in many cases, one that your competition may not even want to touch. ProMAXX Tool opened the market in exhaust manifold repair tools and offers the largest line of specialty drill template kits; from Chevy Malibus to Ford Power Stroke to Mack MP8 class 8 trucks. In addition, ProMAXX Tool offers unlimited customer support 24/7. We’ve seen it all and will be able to offer the expertise that allows you to get the job done that much faster.
If you have questions about how to create room in a GM LS engine and drill out the broken studs that your customer brought in, give ProMAXX a call today, or check out the line of premium GM ProKits offered online with same-day and expedited shipping.
NEW AT PROMAXX
-
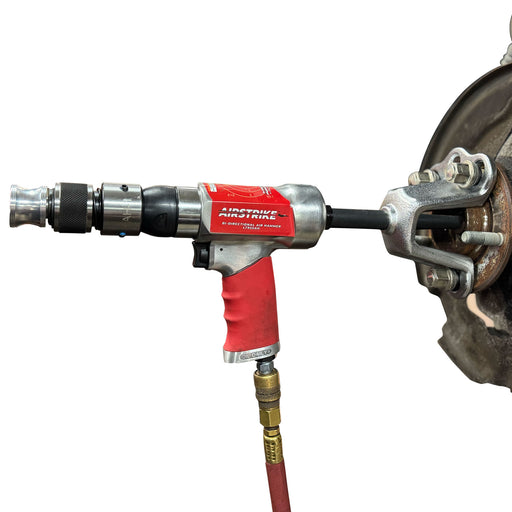
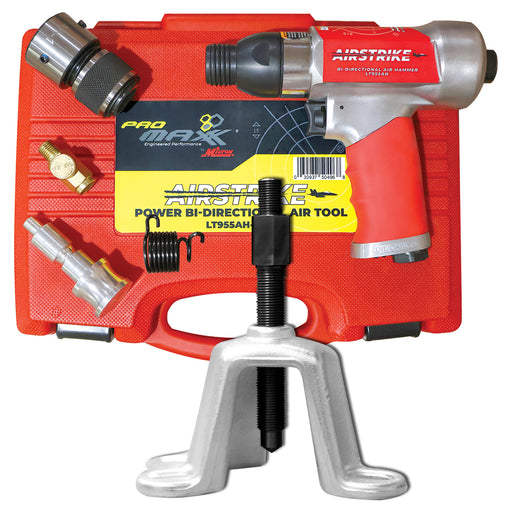
Wheel Bearing Hub Puller - Air Hammer Powered
Part#: PMXTOM475PROOriginal price $69.95 - Original price $499.95Original price$69.95 - $499.95$69.95 - $499.95Current price $69.95Original price $69.95 - Original price $499.95Original price$69.95 - $499.95$69.95 - $499.95Current price $69.95 -
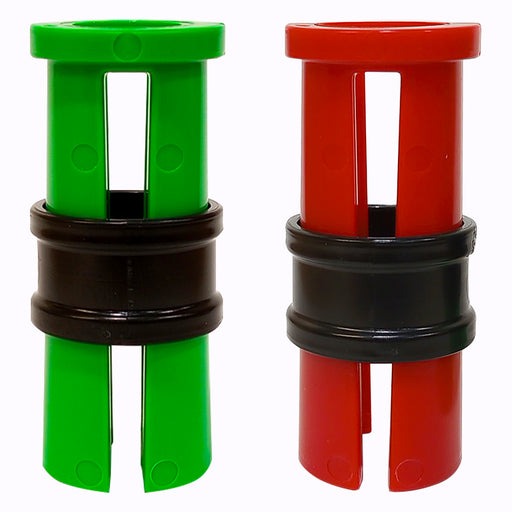
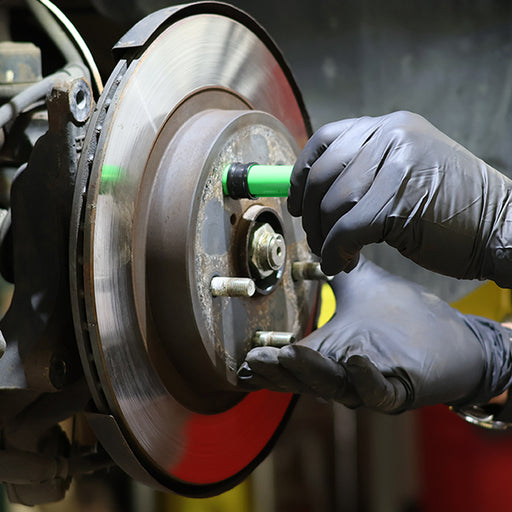
Hold-A-Rotor® and Secure Disc Brake Rotors in Place on 12mm & 14mm Studded Hubs - STC71000
Part#: STC71000Original price $19.99 - Original price $19.99Original price$19.99$19.99 - $19.99Current price $19.99Original price $19.99 - Original price $19.99Original price$19.99$19.99 - $19.99Current price $19.99 -
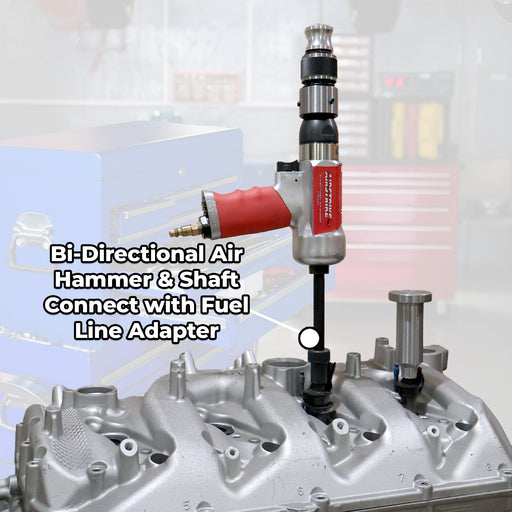
Ford 6.7L PowerStroke, GM 6.6L Duramax Fuel Injector Fuel Line Puller Adapter Combo Kit – Powered by Air Hammer
Part#: PMXPWP955PROOriginal price $89.95 - Original price $699.95Original price$89.95 - $699.95$89.95 - $699.95Current price $89.95Original price $89.95 - Original price $699.95Original price$89.95 - $699.95$89.95 - $699.95Current price $89.95 -
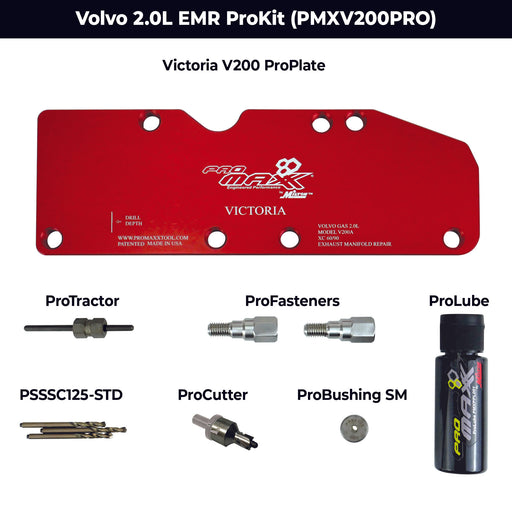
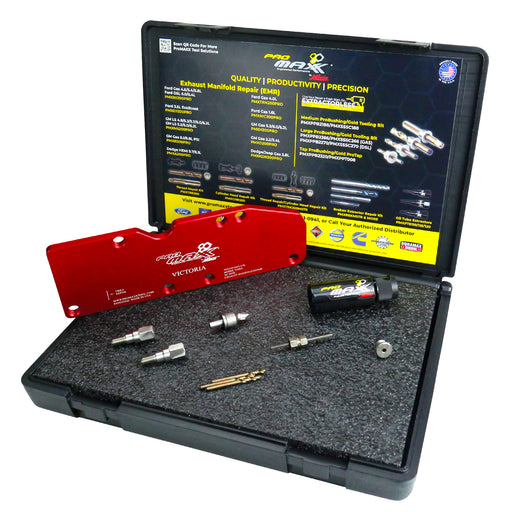
Volvo 2.0L Drive-E, VEA Exhaust Manifold Bolt Repair USA Made for XC40 XC60 XC90 & More: ProKit W/Additional Accessories - Victoria
Part#: PMXV200PROOriginal price $349.95 - Original price $349.95Original price$349.95$349.95 - $349.95Current price $349.95Original price $349.95 - Original price $349.95Original price$349.95$349.95 - $349.95Current price $349.95 -
Fuel Injector Pullers quickly remove stuck EcoBoost injectors without engine teardown save 15 hrs Air-Powered for Ford 1.0L/1.5L/3.5L/3.7L engines
Part#: PMXPWP915AOriginal price $249.95 - Original price $629.95Original price$249.95 - $629.95$249.95 - $629.95Current price $249.95Original price $249.95 - Original price $629.95Original price$249.95 - $629.95$249.95 - $629.95Current price $249.95

SHIPPING INFO
For Saturday delivery or special shipping instructions, please contact ProMAXX Tool M-F 8 a.m. – 5 p.m. EST at 724-941-0941. Expedited Orders Placed by 1pm EST will be Processed Same Day | UPS Ground Processing Time is 1-3 Business Days

WARRANTY INFO
Offering a range of policies

NEED HELP
Contact our support team today
724-941-0941

Promaxx Tool Address
1121 Boyce Road
Suite #2000
Pittsburgh, PA 15241
Any motor company logo on this site is a Registered Trademark. ProMAXX Tool is not affiliated with any of the motor companies on this site.
Leave a comment